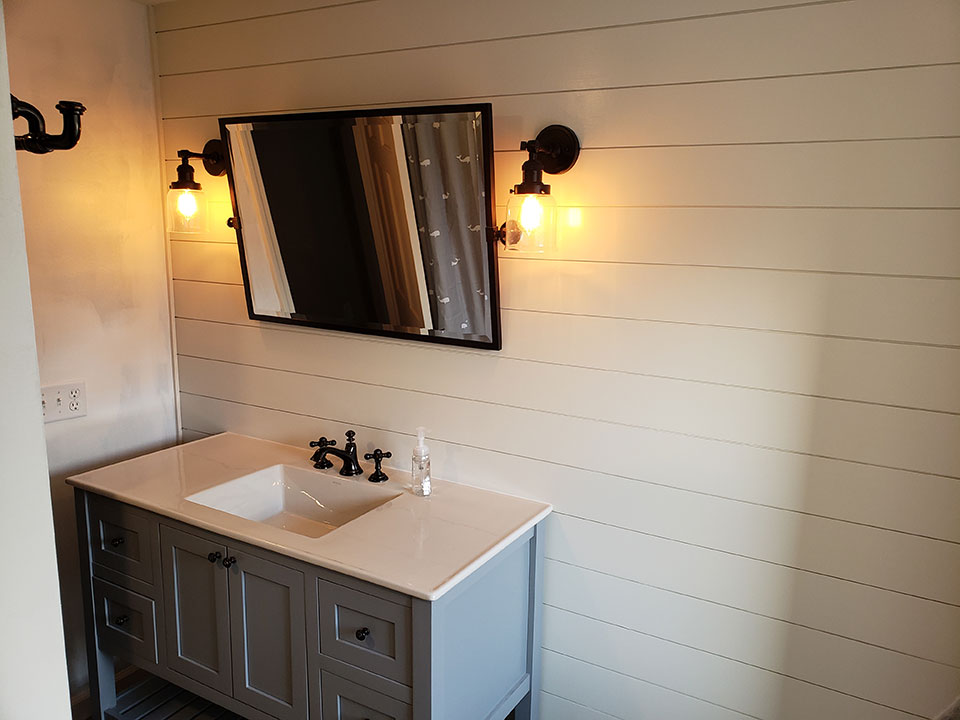
Whether you’re replacing an existing fixture or putting the finishing touches on a recent renovation project, we can help guide you through the process swiftly and correctly.
IMPORTANT: TURN OFF POWER SOURCE BEFORE YOU BEGIN
It is extremely important to not only cut off the electricity to where you are working but to also use a voltage tester to ensure that you can begin working safely. You should turn off the breaker on your electrical panel that feeds power to the area where you’ll be working.
STEP 1: STRIP WIRES
Once you’ve removed your existing fixture (if you had one), you should have three wires coming out of the wall: white, black, and copper. Strip about ¼” of insulation from each.
Note: If you have an excess amount of wiring coming out of the wall, trim it down to avoid having to wrestle with unnecessary material prior to stripping them.
STEP 2: CONNECT FIXTURE + WALL WIRES
Once your wires have been stripped, simply twist and connect the wall wires to those on the fixture, matching each color to itself. Twist a plastic wire cap onto the end of each connection.
Neatly fold your exposed wiring into the junction box, then place the fixture over the wall plate and attach per manufacturer’s instructions.
STEP 3: TEST YOUR WORK
Restore power to the fixture and check to ensure it operates correctly. If something doesn’t work properly, be sure to turn the power back off at the breaker before you remove the fixture and check your connections.
Note: If you’re installing a fixture for the first time, you’ll need to ensure that the mounting bracket is level, to avoid your fixture from being slanted.
Check out our Builder’s Blog for other at-home how-to’s.

