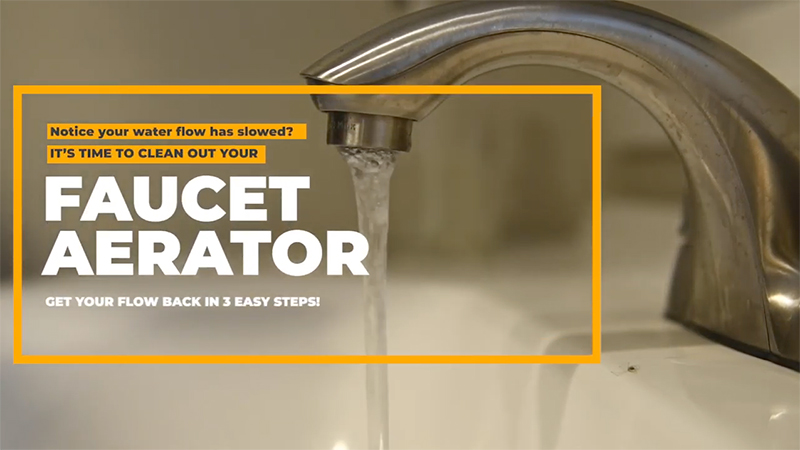
Is a Clogged Aerator Causing Your Low Water Pressure?
If you’ve noticed that the water flow out of your faucet has drastically slowed, chances are you have a clogged faucet aerator — and knowing how to clean a faucet aerator is the easiest low water pressure faucet fix you can do yourself. Skip the housecall by your plumber, and easily remedy the situation yourself. Before beginning, it’s best to play it safe and plug the drain to avoid losing any small parts.
How To Clean a Faucet Aerator — Step by Step
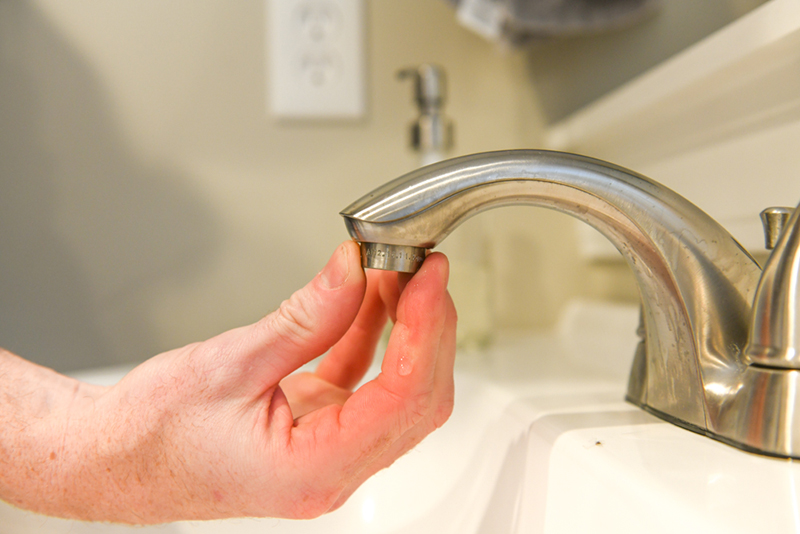
Step One — Remove Aerator
Learning how to remove a faucet aerator is the first step. This can either be done by unscrewing it by hand, or for harder-to-remove aerators, you can use a wrench or pliers. If using pliers, you’ll want to cover them with either a cloth or electrical tape, to avoid damaging the aerator.
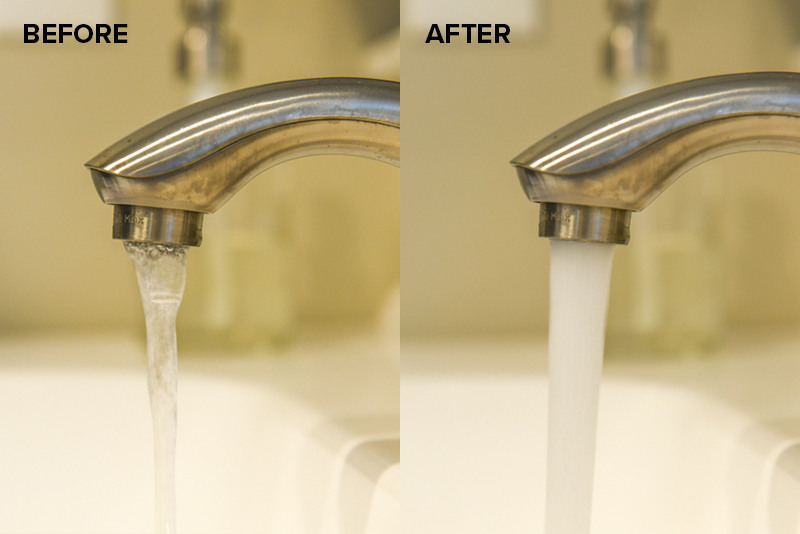
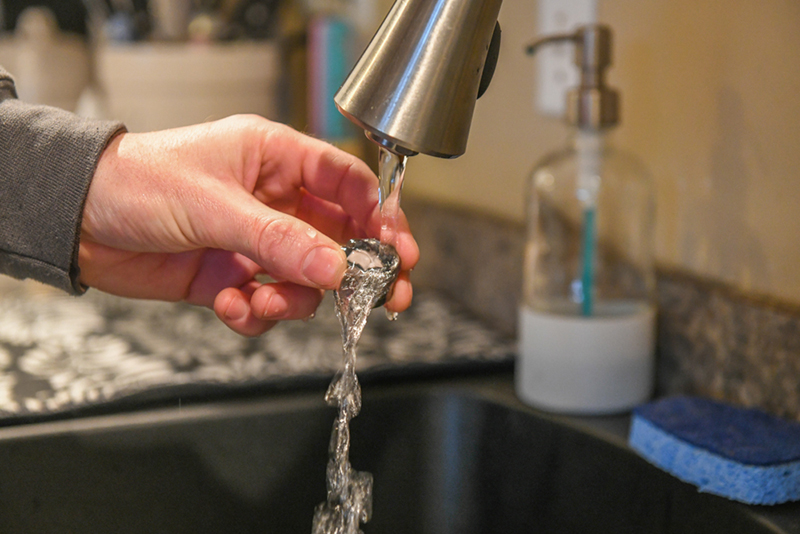
Step Two — Clean the Aerator Screen and Parts
This is where the actual faucet aerator cleaning happens. Depending on how clogged the screen is, it might only need to be rinsed by hand or with a toothbrush until all of the holes in the screen are clear. For more severe buildup — especially if your faucet aerator is clogged with sediment — you can soak the parts overnight in white vinegar. If you notice parts are broken or cracked, you’re going to need to purchase a new aerator entirely.
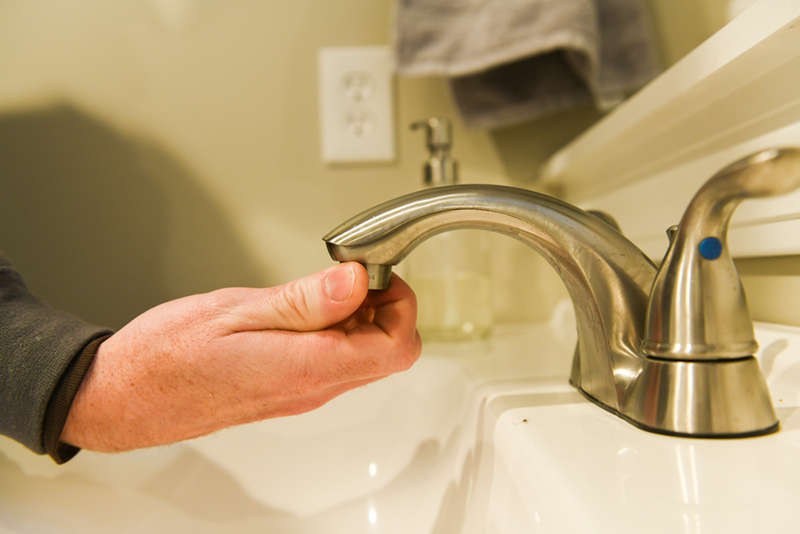
Step Three — Reassemble Aerator
Place all of the parts back in their original order and screw the aerator back onto the faucet. This can be done by hand, but if you turn the sink back on and notice that water is leaking from above the aerator, you can use the wrench/pliers to give it a small turn.