Why Your P-Trap Needs Regular Cleaning
For those unaware of the purpose of a P-trap, they are designed to hold water so that sewer gas doesn’t come out of the drain. Over time, they can also collect debris, so knowing how to clean a P-trap is good practice every homeowner should have. As we’ve discussed in previous blogs that dealt with clogs, we always advise against using chemical cleaners, as they can be harmful to your plumbing over time. P-trap drain cleaning takes only a few simple steps, and then you’re back to business as usual.
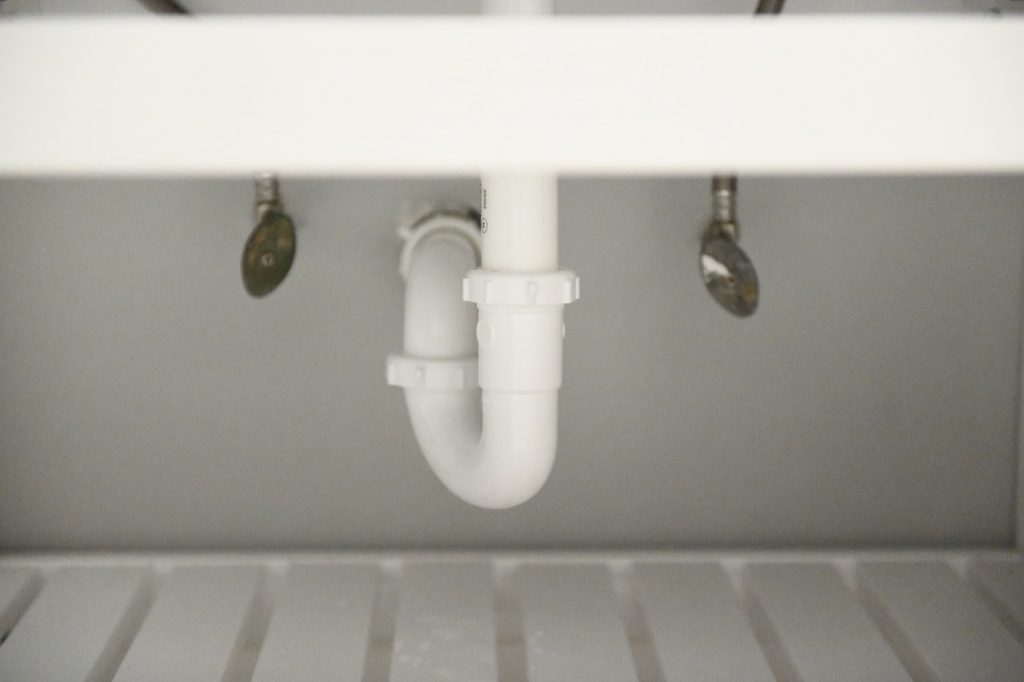
How To Clean a Sink P-Trap — Step by Step
Step 1 — Access + Remove the Trap
How to remove a P-trap starts with making space. Begin by clearing out the space around your sink pipes in order to have room to work. Using your hands, or pliers if necessary, loosen the coupling nuts that connect the trap to the drain pipe at one end and the overflow pipe at the other and carefully remove the trap.
💧 Note: If you’re concerned about an excess of water coming out when you remove the trap, you can place a bucket or bowl underneath it to catch any runoff.
Step 2 — Clean the Trap
Once the trap is removed, dump out any water that is in it and clean the sink drain trap out in a separate sink. Depending on the debris buildup in the trap, you might need to clean the interior with a wire brush or bottle brush. This is the core of sink P-trap cleaning — getting into the curved section where hair, grease, and buildup tend to accumulate.
Step 3 — Reassemble the Trap
Once the trap is cleaned, reassemble it and be sure that the coupling nuts are tightly secured. Run the faucet for about 30 seconds to ensure that the trap is not leaking.
Simple P-Trap Cleaning — No Chemicals Needed
That’s all there is to it. Whether you’re dealing with a clogged P-trap, a slow-draining sink, or just keeping up with routine maintenance, knowing how to clean a P-trap means you can clean your sink drain trap quickly and safely — without harsh chemicals and without calling a plumber.