Why You Should Convert Your Recessed Lighting to LED
A majority of us are spending more time at home than we ever imagined and with that comes the use of more household electricity than ever. One way you can help save energy (and keep yourself busy) is by knowing how to upgrade to LED recessed lighting — a simple and rewarding DIY project that makes a real difference on your energy bill.
⚠️ NOTE: Always shut off the electricity before working on any electrical project, and turn all switches to OFF.
How To Replace Recessed Lights With LED — Step by Step
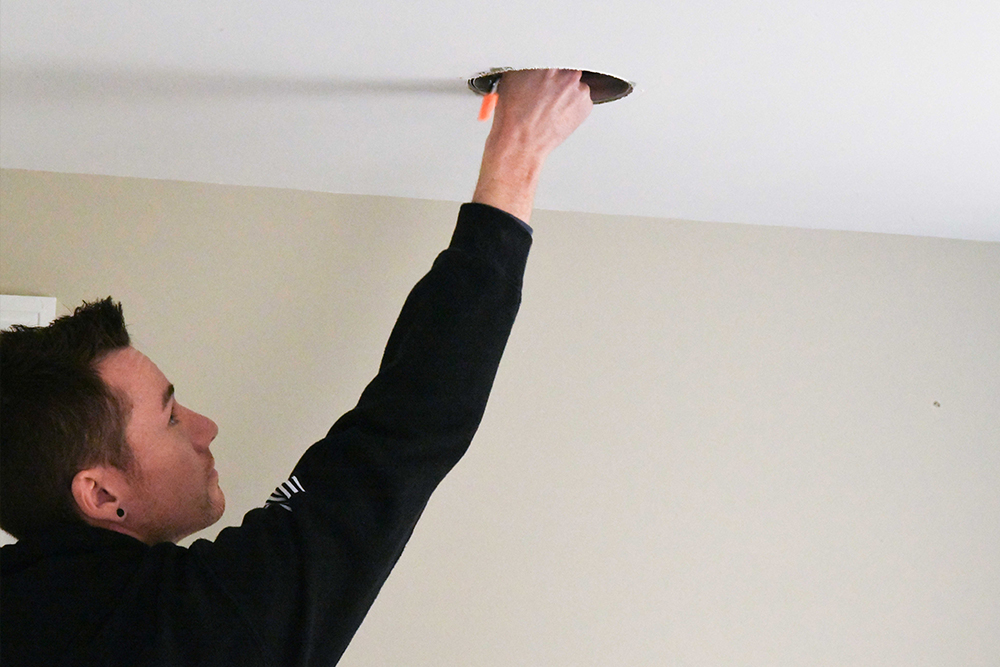
Step 1 — Screw the Adaptor Into the Lightbulb Socket in the Ceiling
This is the foundation of the LED recessed lighting conversion. The adapter connects your existing socket to the new LED unit — no rewiring needed.
Step 2 — Plug the Adapter Into the LED Unit
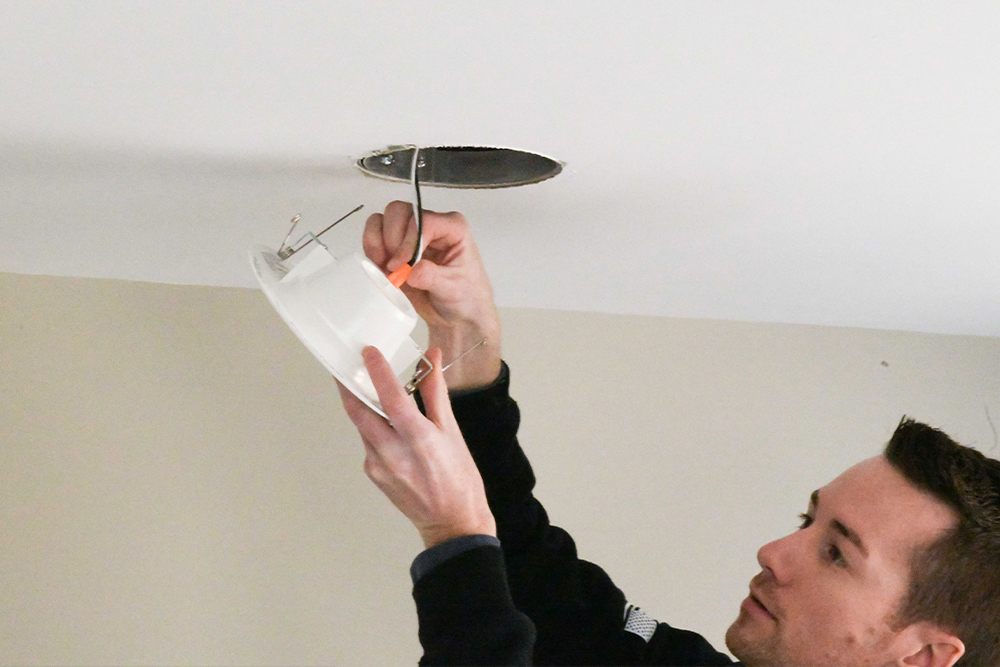
With the adapter in place, plug it into the LED retrofit recessed lighting unit. This is what powers the new fixture using your existing wiring.
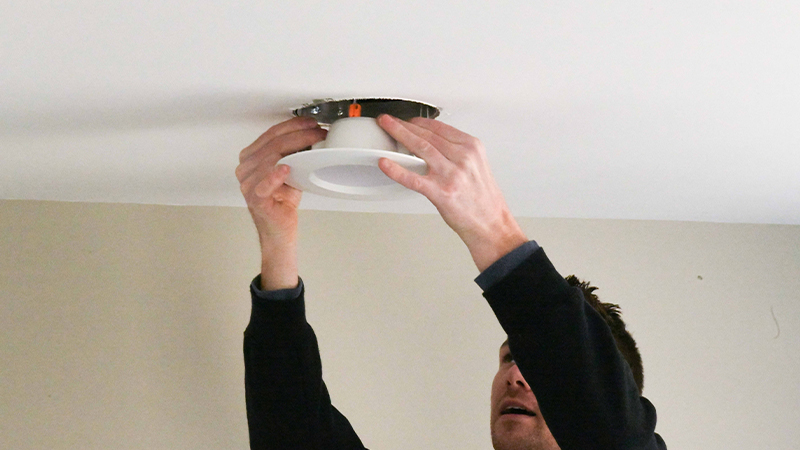
Step 3 — Squeeze and Insert the Spring Clips Into the Brackets Inside the Housing and Push the LED Up in Place Against the Ceiling

The spring clips lock the new recessed LED light securely into the existing housing, flush against the ceiling — completing the recessed lighting conversion to LED.
Finish Up and Enjoy the Upgrade
Repeat these steps for each can and turn your electricity back on once you’ve finished. New cans will also help give the room a fresh feeling, because it’s the little things that add up to make a big impact! Whether you’re doing one room or the whole house, learning how to upgrade to LED recessed lighting is one of the easiest ways to replace recessed lights with LED and immediately see the difference — in both your space and your energy bill.